How To Remove Driver Restore From Windows 10 & 8 OS (Uninstall Guide)?
To uninstall Driver Restore from Windows 10/ Windows 8 OS, follow the below mentioned instructions:
Step 1:
Go to the Windows icon appearing on the main screen of your system, right click on the icon to open the options. Select Control Panel from the opened menu options.
")
Step 2:
After selecting control Panel, Control Panel window will appear. Look out for Programs in the shown options. Under Programs, click on Uninstall a program.

Step 3:
After selecting Uninstall a program, a new window pops up. Either search for Driver Restore in the list that appears or type “Driver Restore” in the search tab.
Step 4:
As the search result appears and it shows Driver Restore, select it and click “Uninstall/Change”.

Step 5:
A user account controlled dialog box will pop up inquiring “you want to allow the following program to make changes to this computer?”.To further proceed with the uninstall process, click “Yes”.
Step 6:
A dialog box titled “Driver Restore Uninstall” will appear. Click “Next”

Step 7:
Another dialog box appears, select “Uninstall” option to permanently remove Driver restore from the system.

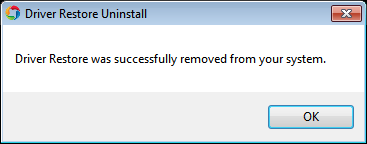
Step 8:
Once the software has been completely removed, dialog box ensuring the removal of program appears, Click “OK”.

Steps To Uninstall/Remove Driver Restore From Windows 7, XP & Vista OS
To Remove Driver Restore from Windows 7/ Vista/ XP OS, follow the below mentioned instructions:
Step 1:
Go to the Start Menu of your system, click open the menu. Select Control Panel from the opened menu options.

Step 2:
After selecting control Panel, Control Panel window will appear. Look out for Programs in the shown options. Under Programs, click on Uninstall a program.

Step 3:
After selecting Uninstall a program, a new window pops up. Either search for Driver Restore in the list that appears or type “Driver Restore” in the search tab.

Step 4:
As the search result appears and it shows Driver Restore, select it and click “Uninstall/Change”.

Step 5:
A user account controlled dialog box will pop up inquiring “you want to allow the following program to make changes to this computer?”. To further proceed with the uninstall process, click “Yes”.
Step 6:
A dialog box titled “Driver Restore Uninstall” will appear. Click “Next”

Step 7:
Another dialog box appears, select “Uninstall” option to permanently remove Driver restore from the system.

Step 8:
Once the software has been completely removed, dialog box ensuring the removal of program appears, Click “OK”.
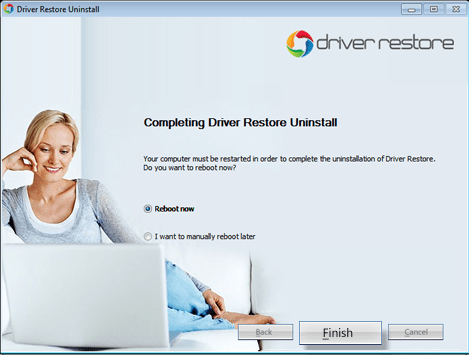
Step 9:
To Complete the uninstall, select “Reboot Now” in the dialog below. Then click “Finish”.
Depending on your system supporting OS, relate to the above mentioned step-by-step instructions in this Driver Restore uninstall guide to remove Driver restore from windows system. Also, apart from the stated OS, the software doesn’t run on any other OS, including Mac.
Please consider:
Driver Restore is a .exe extension file, it is therefore a program or software that will install in user’s system prior to its running. Several website have posted misleading information online, suggesting ways as to how to remove Driver Restore from various browsers, including, Google Chrome, Safari, Mozilla Firefox, Internet Explorer.
The software developed is not supported to be run on browsers, instead, it only works once it has been installed in the system; it is not a malware or Add-on.